- Click on the Open Console button, and you will get redirected to AWS Console in a new browser tab.
- On the AWS sign-in page, Leave the Account ID as default. Never edit/remove the 12 digit Account ID present in the AWS Console. otherwise, you cannot proceed with the lab. Now copy your User Name and Password in the Lab Console to the IAM Username and Password in AWS Console and click on the Sign in button.
- On the AWS sign-in page,
- Leave the Account ID as default. Never edit/remove the 12 digit Account ID present in the AWS Console. otherwise, you cannot proceed with the lab.
- Now copy your User Name and Password in the Lab Console to the IAM Username and Password in AWS Console and click on the Sign in button.
- Once Signed In to the AWS Management Console, Make the default AWS Region as US East (N. Virginia) us-east-1.
- Make sure to choose the US East (N. Virginia) us-east-1 region in the AWS Management console dashboard, which is present in the top right corner.
- Navigate to the Services menu at the top and click on GuardDuty in the Security, Identity and Compliance section.
- Click on Get started.

- Task 2: Enabling Amazon GuardDuty

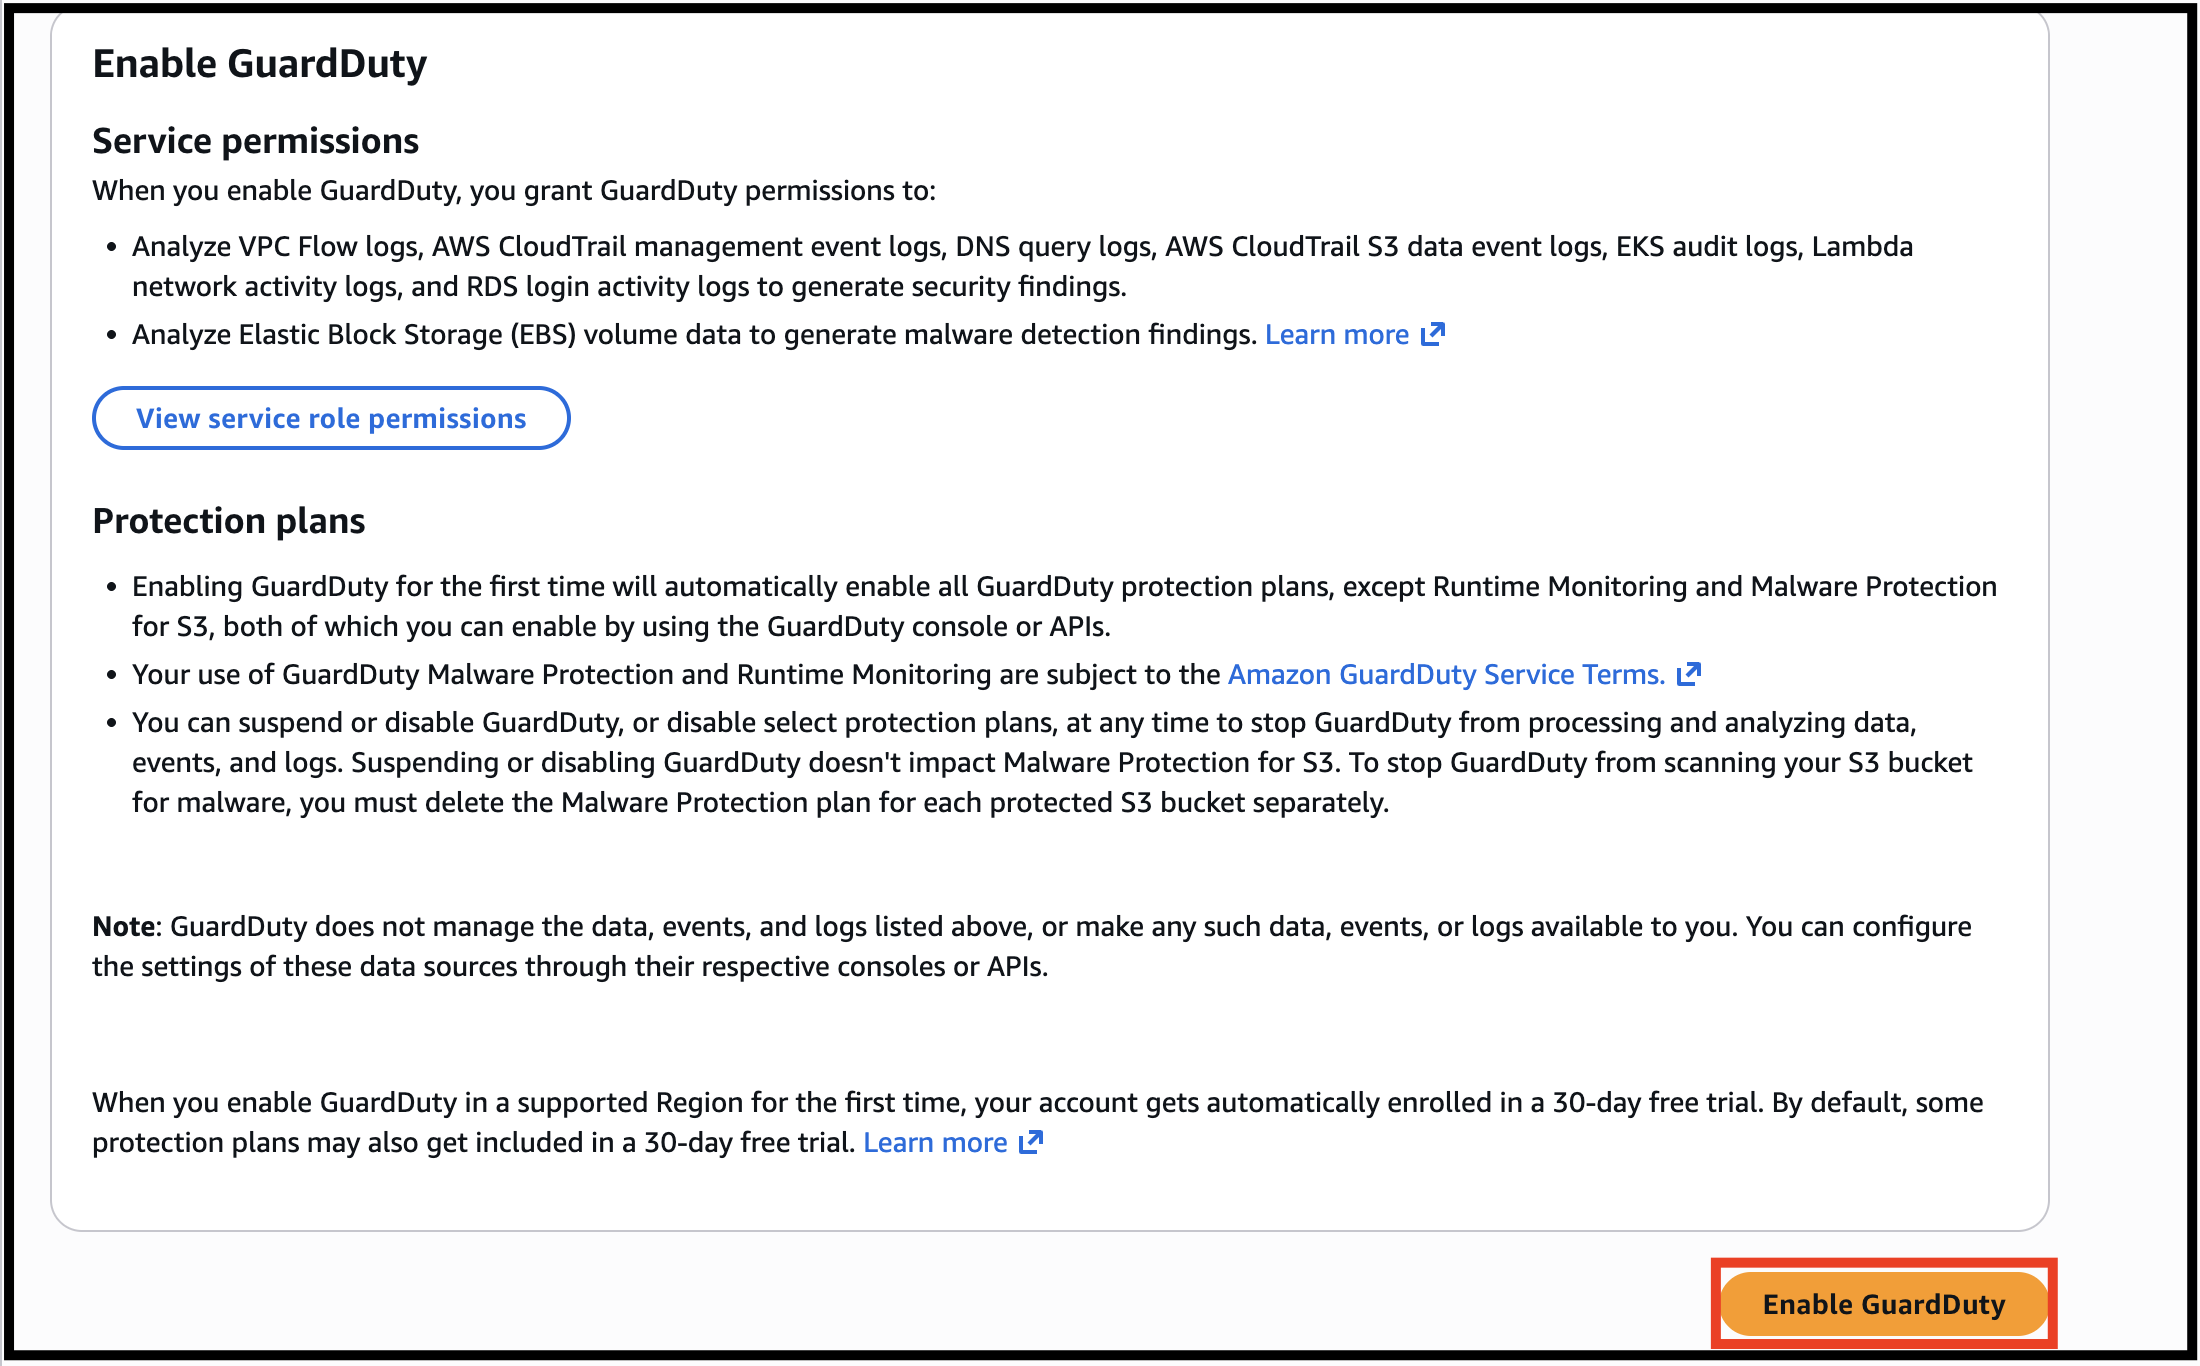
- Click on Enable GuardDuty. With one click, the service will be enabled.
- Task 2: Enabling Amazon GuardDuty

- In the Findings page, you will see the warning You don’t have any findings because there is no malicious activity happening in your AWS Account. Ignore the warnings, wherever you find.

- Click on Settings in the left panel.
- You will see a Detector ID. A detector is a resource that represents the GuardDuty service.
- Service roles: GuardDuty uses a service role to monitor your data sources on your behalf.

- Task 3: Exploring Amazon GuardDuty
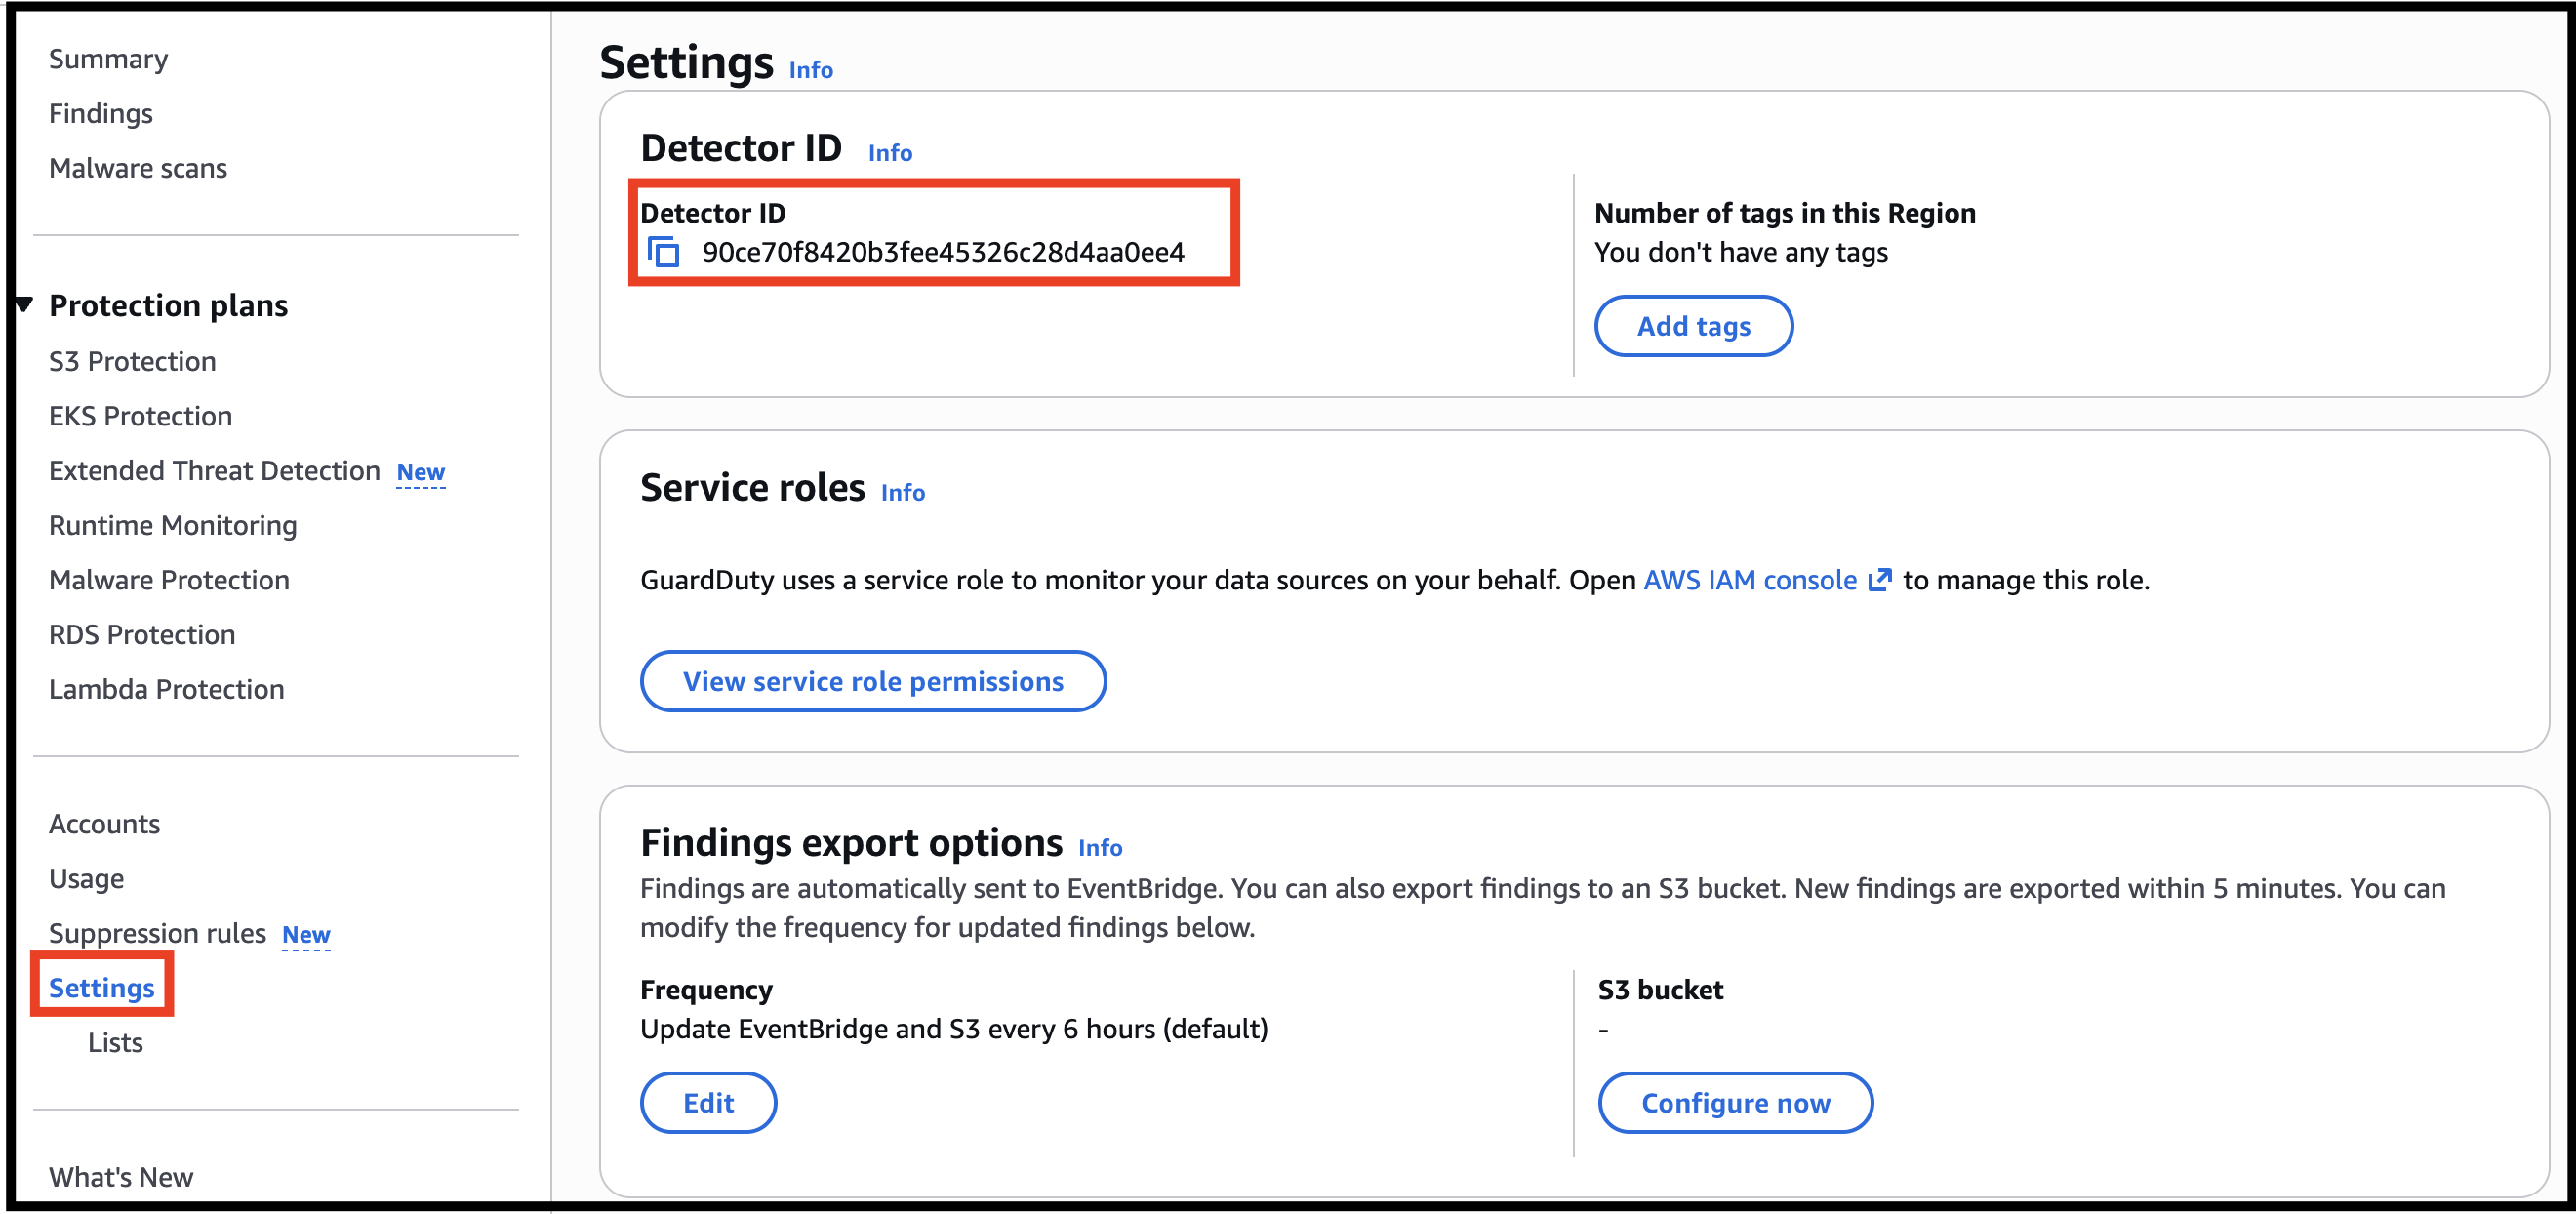
- Findings export options: Findings are automatically sent to CloudWatch Events. You can also export findings to an S3 bucket. New findings are exported within 5 minutes. No need to change anything.
- Suspend GuardDuty: Suspend GuardDuty: When you suspend GuardDuty, it stops monitoring your AWS environment and doesn't generate new findings. Your existing findings remain intact and aren't affected. Disable GuardDuty: When you disable GuardDuty, you not only stop GuardDuty from monitoring your AWS environment and generating new findings, you also lose your existing findings and your GuardDuty configurations. You can’t recover the data later.
- Suspend GuardDuty:
- Suspend GuardDuty: When you suspend GuardDuty, it stops monitoring your AWS environment and doesn't generate new findings. Your existing findings remain intact and aren't affected.
- Disable GuardDuty: When you disable GuardDuty, you not only stop GuardDuty from monitoring your AWS environment and generating new findings, you also lose your existing findings and your GuardDuty configurations. You can’t recover the data later.
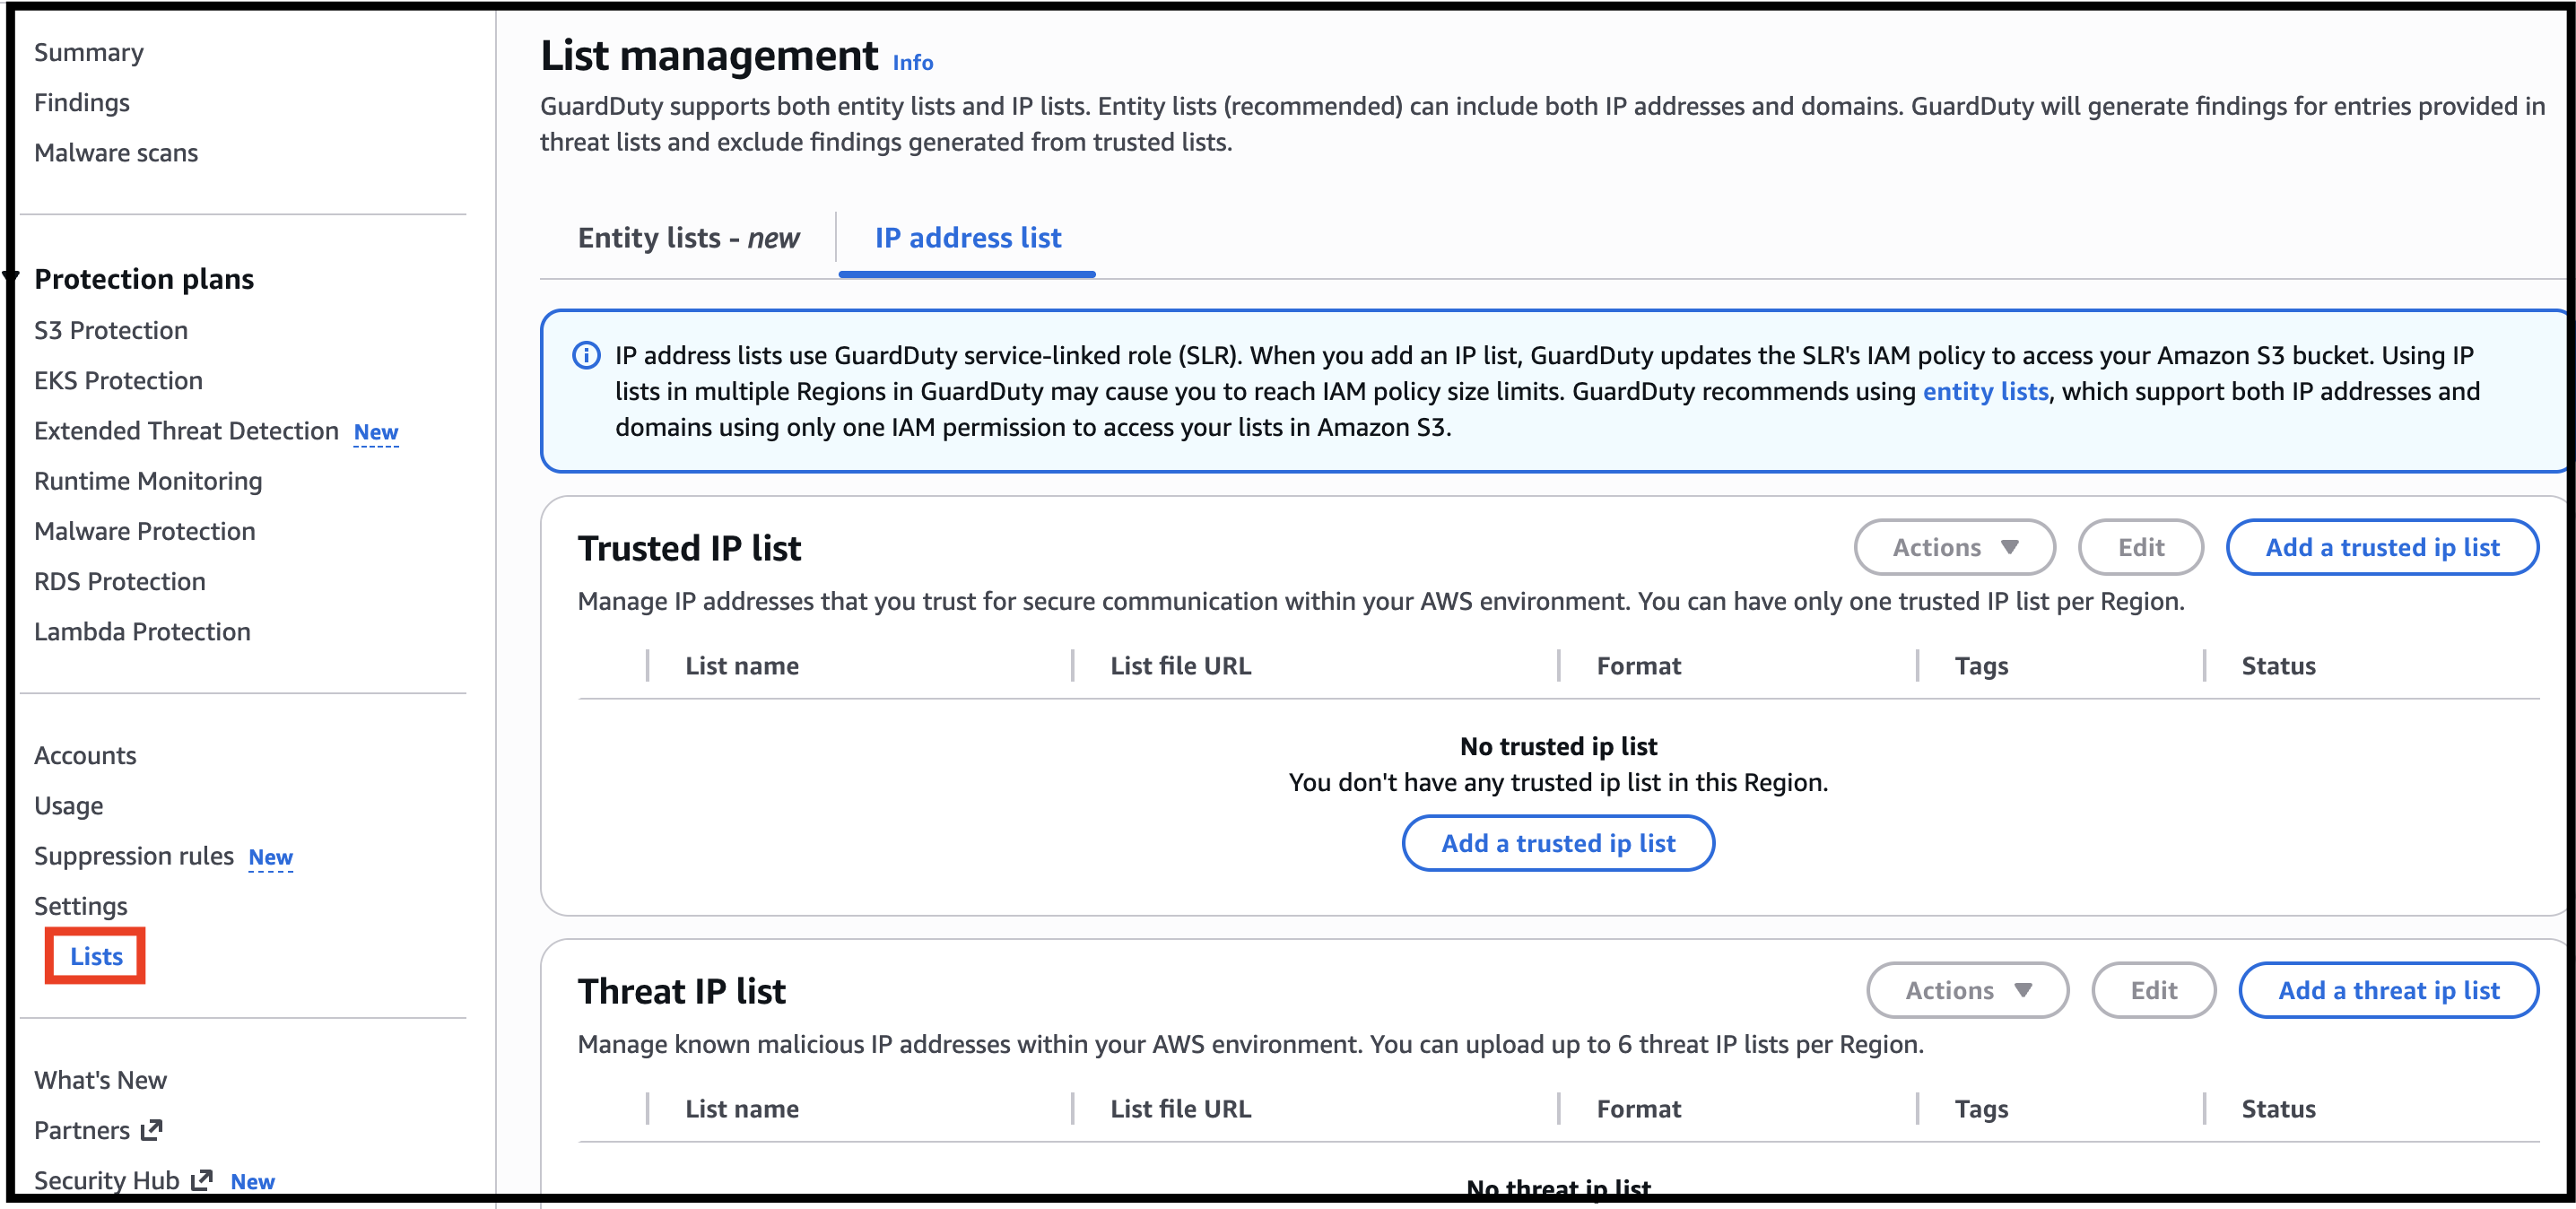
- Click on Lists below Settings.
- In the List Manager, you can add the Trusted IP Lists and Threat IP Lists.
- Note : If the page is blank, please refresh the webpage 2-3 times.
- Trusted IP Lists: Trusted IP lists consist of IP addresses that are whitelisted for secure communication with your AWS environment. GuardDuty does not generate findings for IP addresses that are included in trusted IP lists.
- Threat IP Lists: Threat lists consist of known malicious IP addresses. GuardDuty generates findings for IP addresses that are included in threat lists.

- Task 3: Exploring Amazon GuardDuty
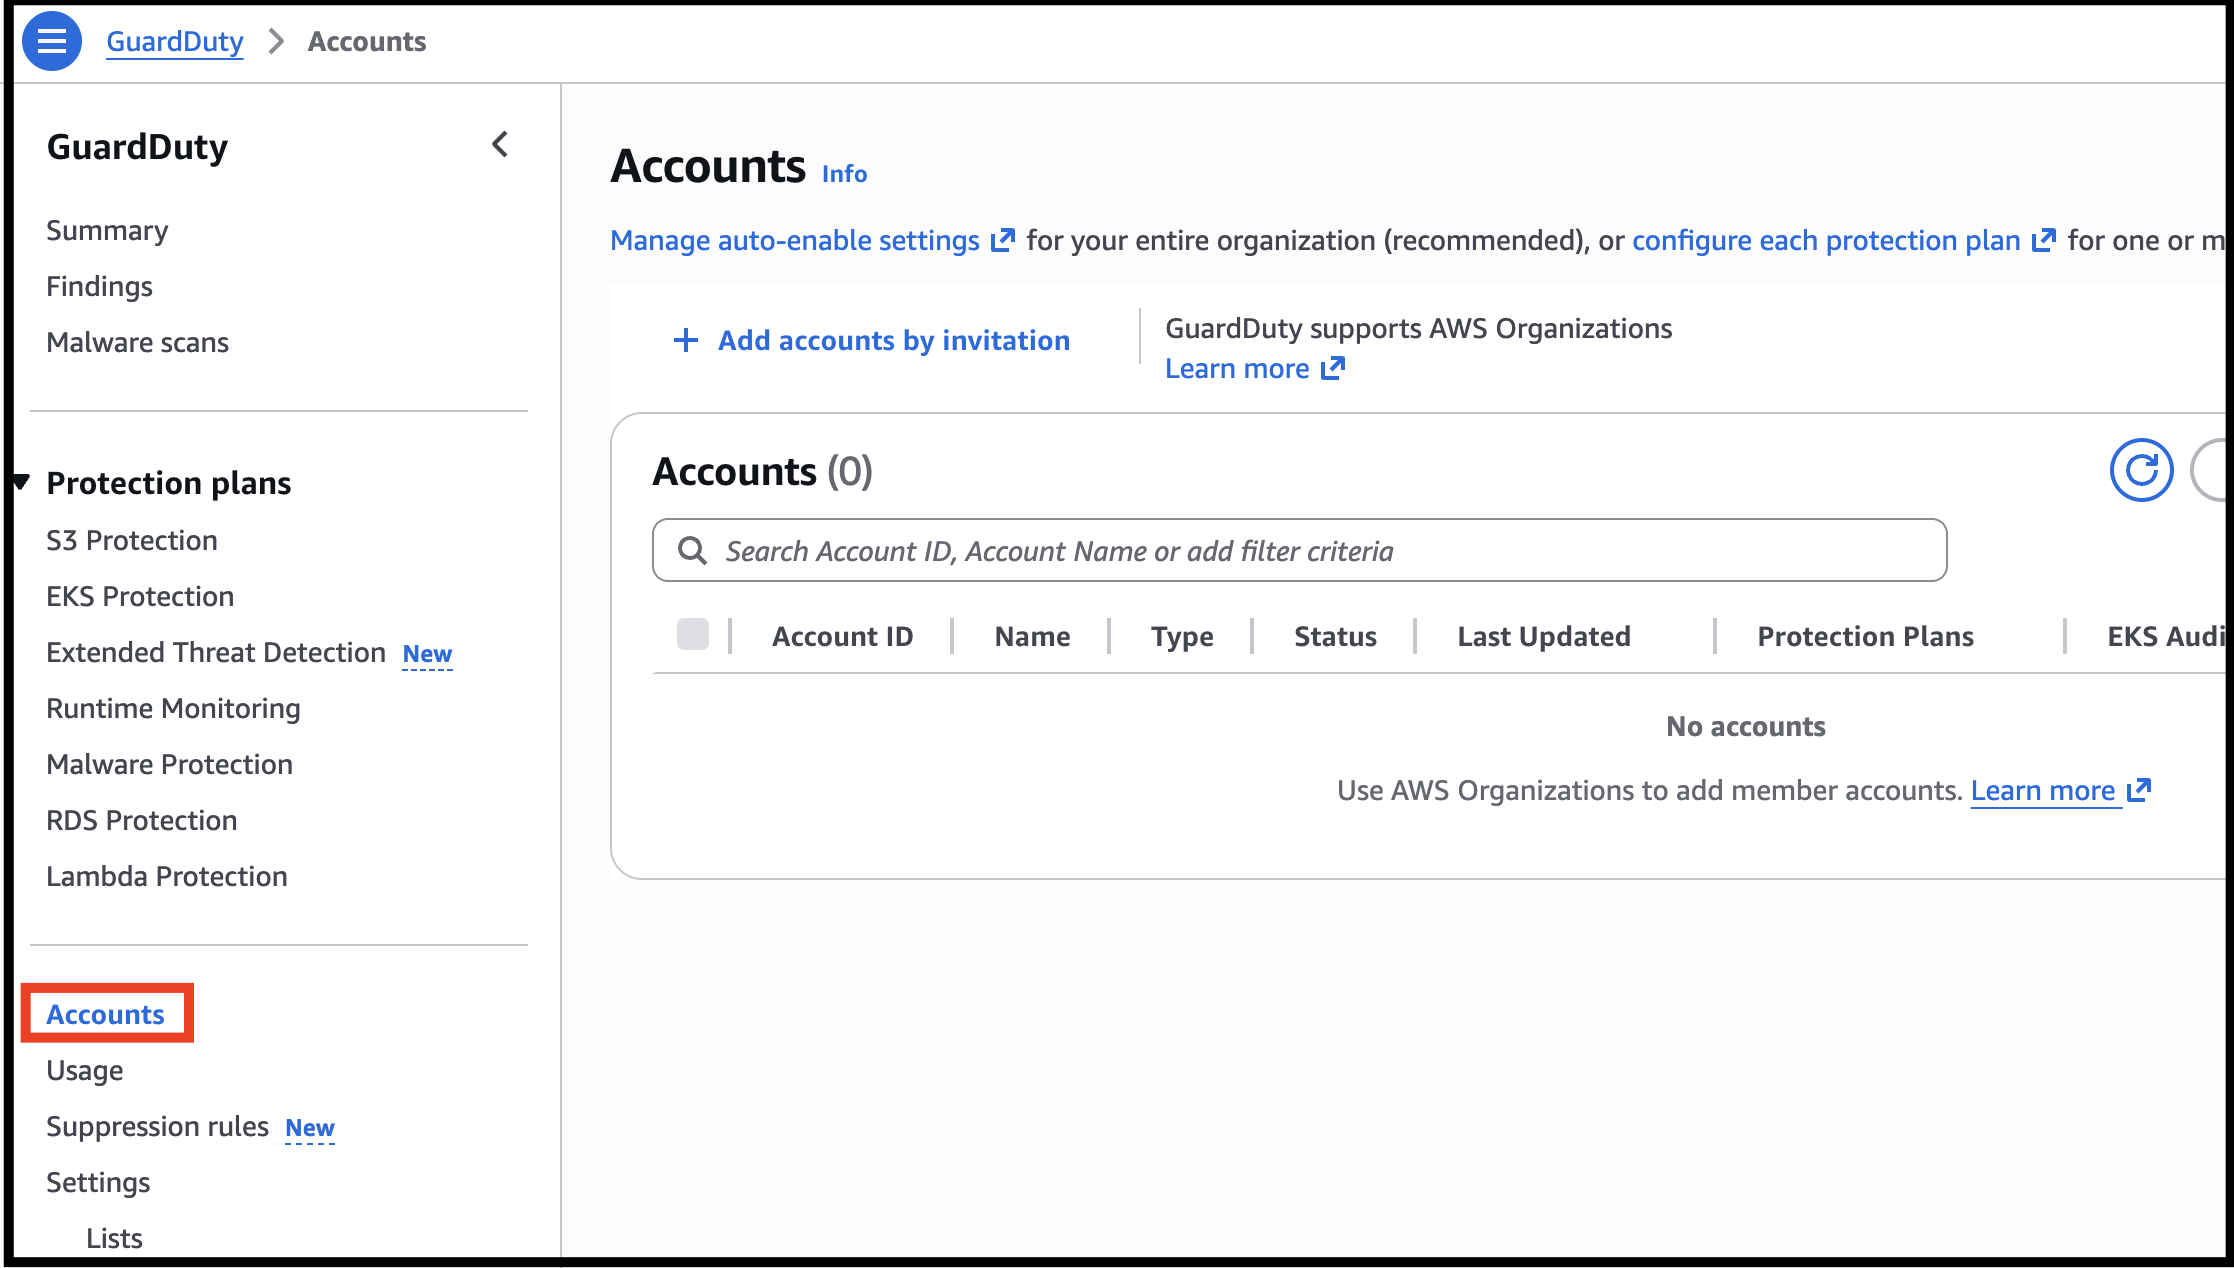
- Click on Accounts above the settings.
- Task 3: Exploring Amazon GuardDuty

- You can invite other accounts to enable GuardDuty and become associated with your AWS account.
- When an invitation is accepted, your account is designated as the master GuardDuty account.
- The account that accepts the invitation becomes a member account associated with your master account.
- You can then view and manage the GuardDuty findings on behalf of the member account. In GuardDuty, a master account (per region) can have up to 1000 member accounts.
- Since there are no potential threats in our AWS Account, let us generate some sample findings and learn about them.
- Navigate to settings from left panel, scroll down and click on Generate sample findings.
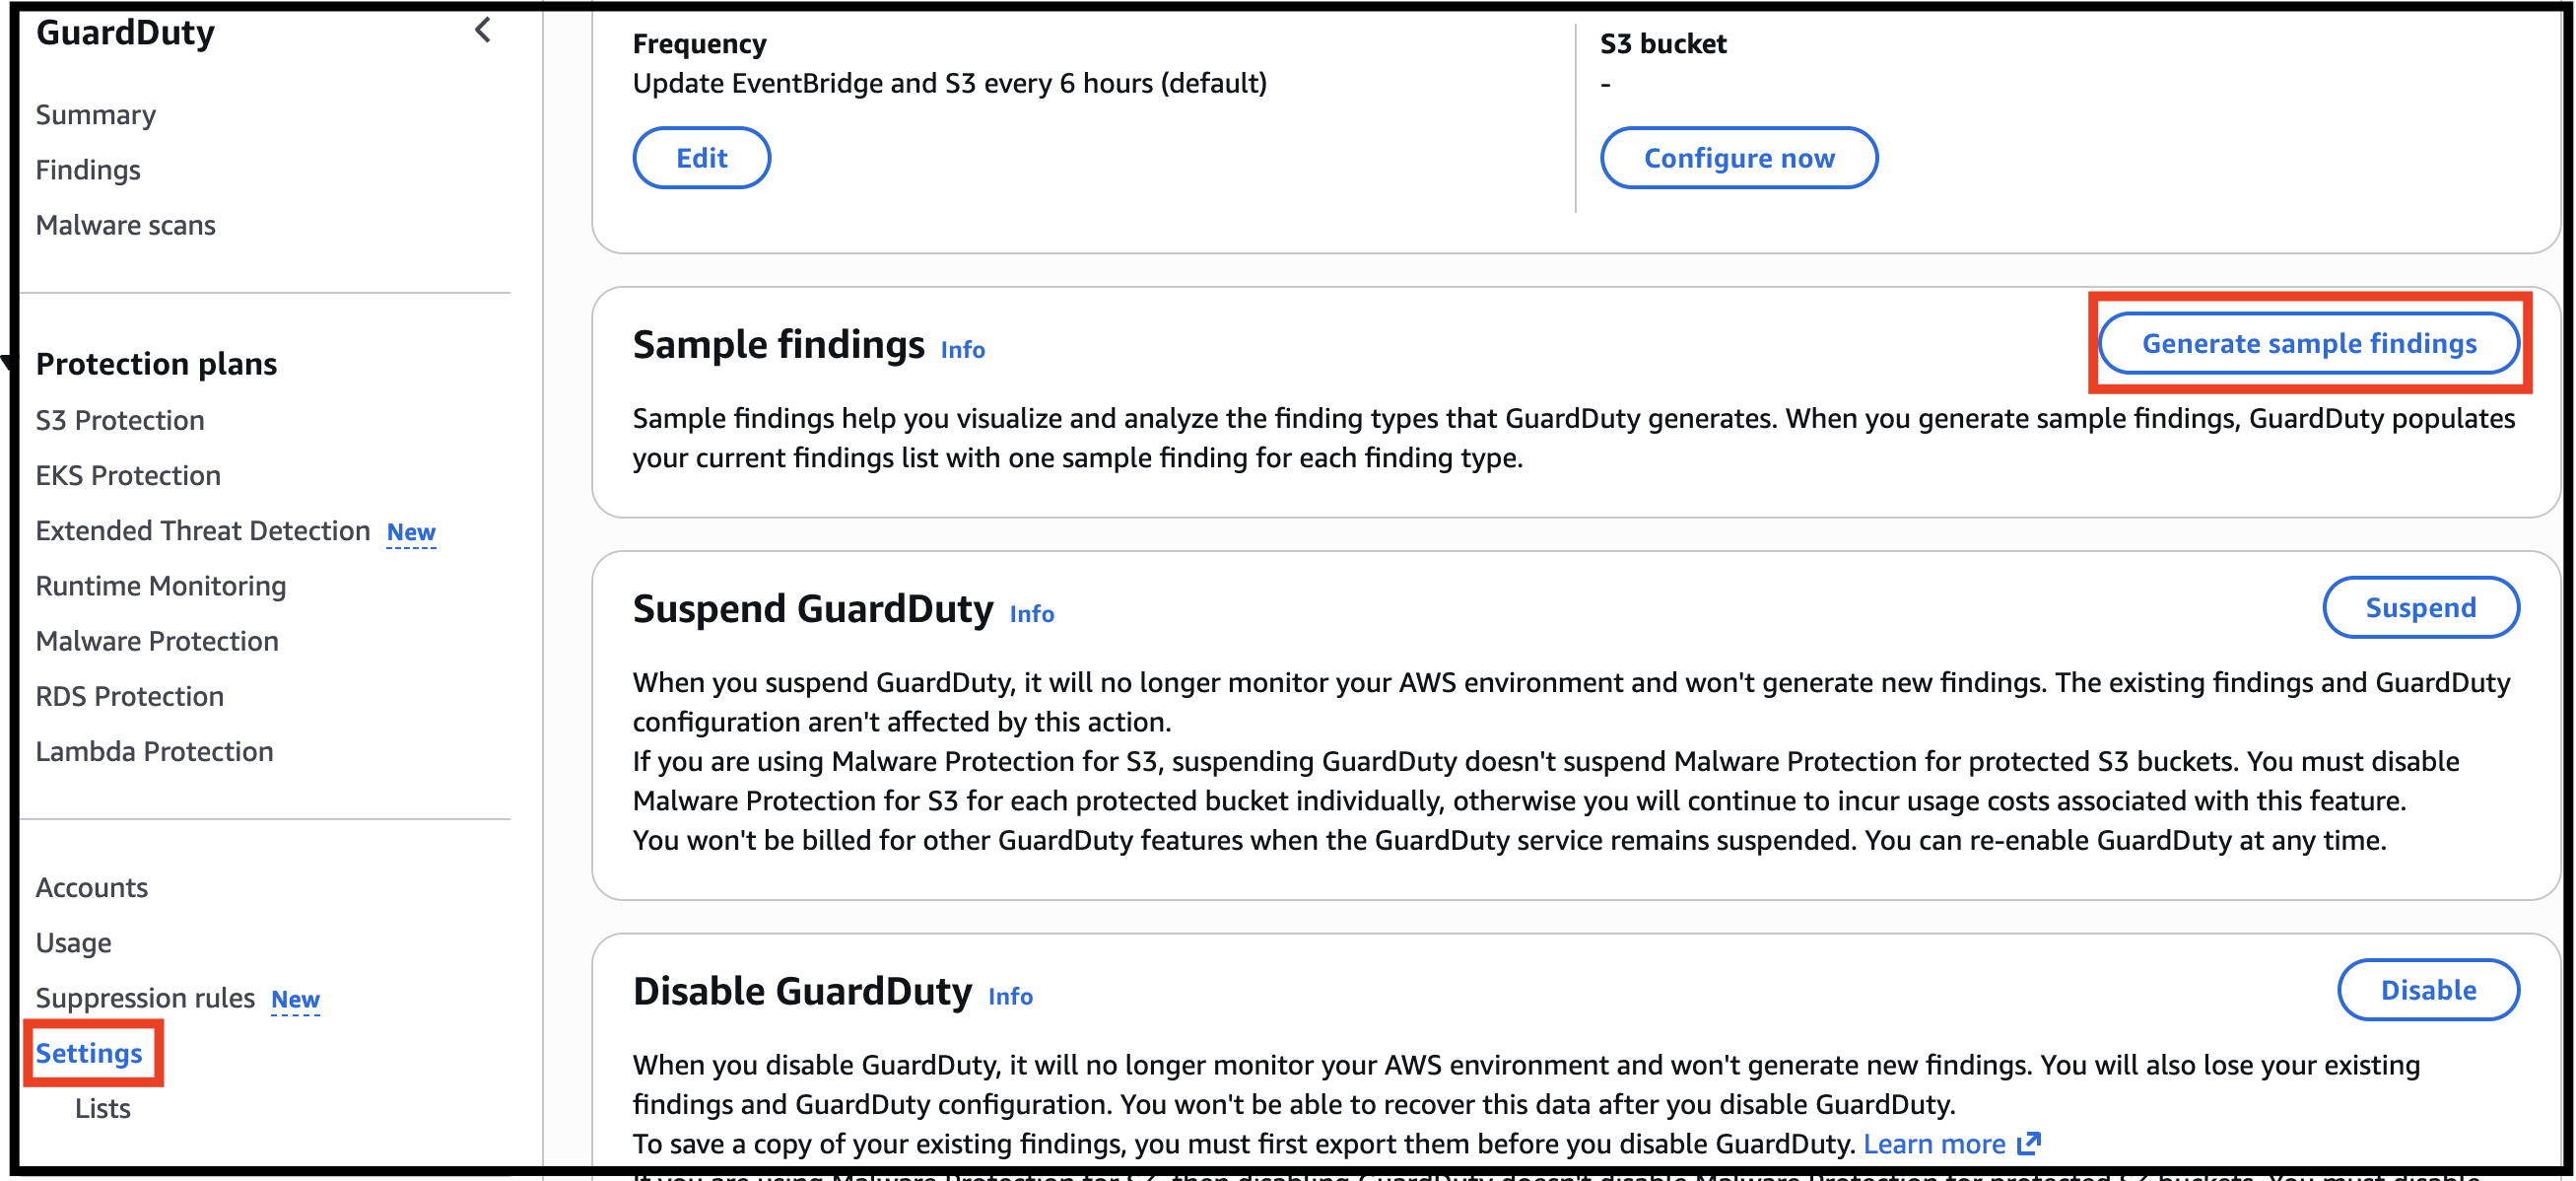
- Task 4: Generating Sample Findings

- To find your sample findings, go to Findings from left panel.
- Wait until the loading is completed. In the top-right corner, you should see several findings.
- You can use filter criteria to filter your findings.

- Task 4: Generating Sample Findings

- Click on one of the sample findings.
- You can see various parameters like severity, region, Account ID, Resource ID, Resource Affected, etc.
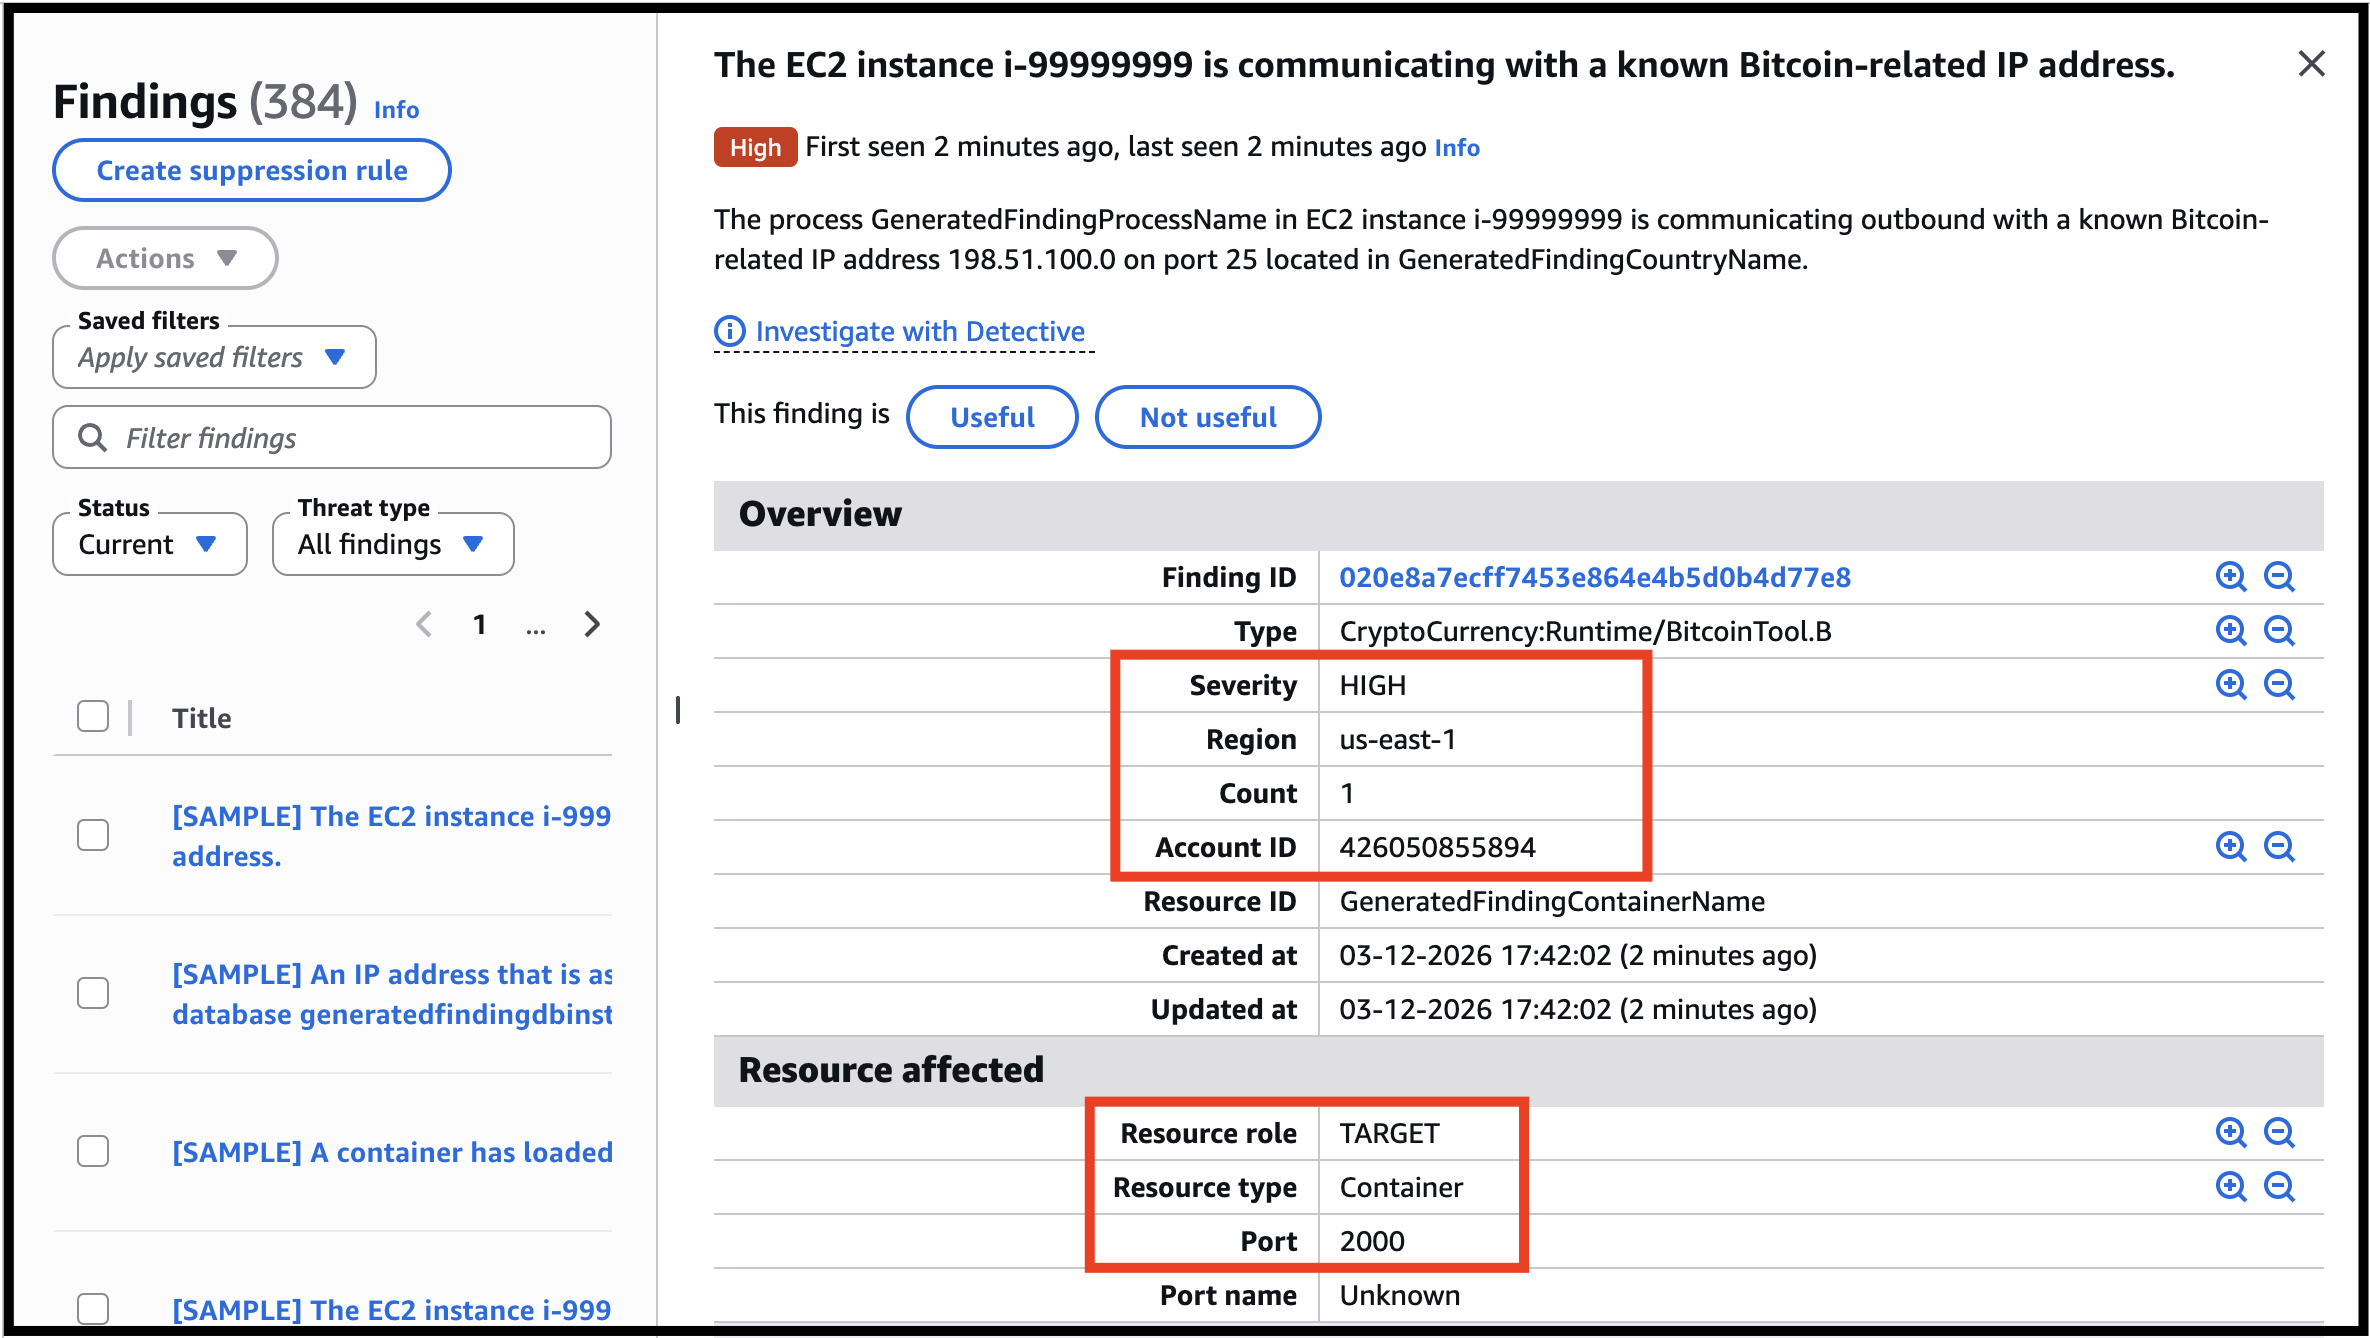
- Task 4: Generating Sample Findings

- Go through the sample to learn more about the different severities.
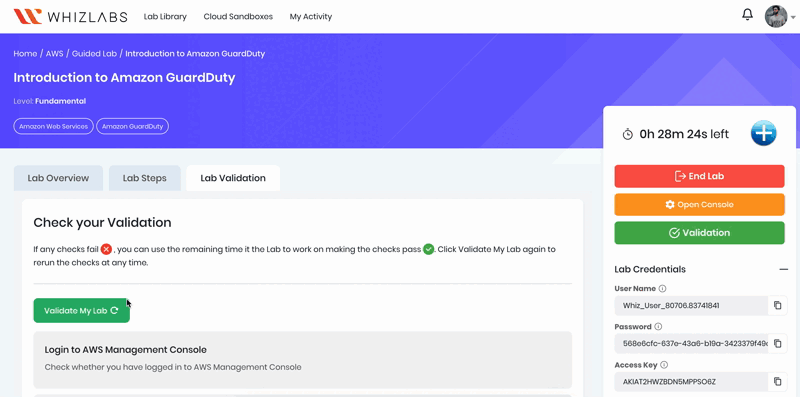
- Once the labs steps are completed, please click on Validation button on right side panel.
- This will validate the resources in the AWS account and displays whether you have completed this lab successfully or not.
- Sample Output:
- Task 5: Validation of the Lab
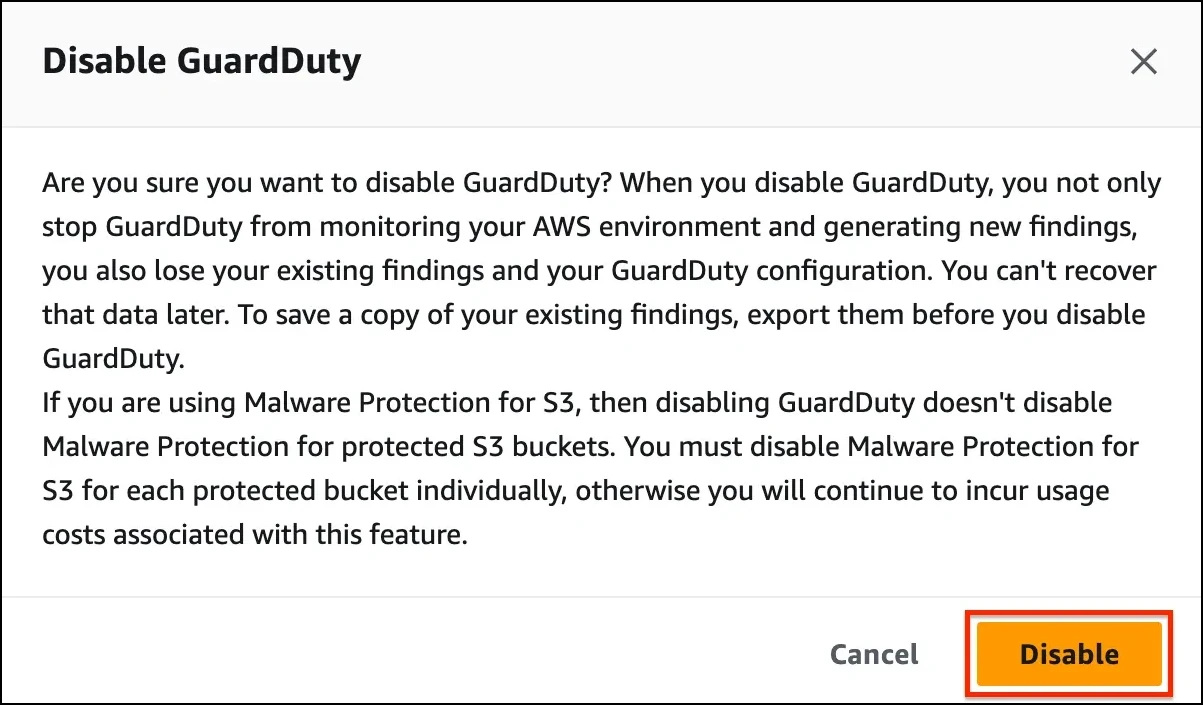
- Go to the settings and click on DisableGuardDuty under suspend GuardDuty to stop it.
- Click on Disable to confirm.
- You have successfully disabled GuardDuty.
- You have successfully used the AWS management console to enable Amazon GuardDuty.
- You have successfully explored the options of Amazon GuardDuty Service like Settings, Lists, and Accounts.
- You have generated some sample findings and reviewed them.
- You have successfully disabled Amazon GuardDuty.
- Sign out of AWS Account.
- You have successfully completed the lab.
- Once you have completed the steps click on End Lab from the lab console.