Intermediate01:30:00
Creating NAT Gateways in AWS
- Click on the Open Console button, and you will get redirected to AWS Console in a new browser tab.
- On the AWS sign-in page,
- Leave the Account ID as default. Never edit/remove the 12 digit Account ID present in the AWS Console. otherwise, you cannot proceed with the lab.
- Now copy your User Name and Password in the Lab Console to the IAM Username and Password in AWS Console and click on the Sign in button.
- Once Signed In to the AWS Management Console, Make the default AWS Region as US East (N. Virginia) us-east-1.
- Note : If you face any issues, please go through FAQs and Troubleshooting for Labs.
- In this task, we are going to create a Virtual Private Cloud (VPC), which provides a logically isolated section of the AWS cloud where users can launch resources such as instances, subnets, and gateways.
- Make sure you are in the US East (N. Virginia) us-east-1 region.
- Navigate to VPC under the services menu. Click on Your VPCs.
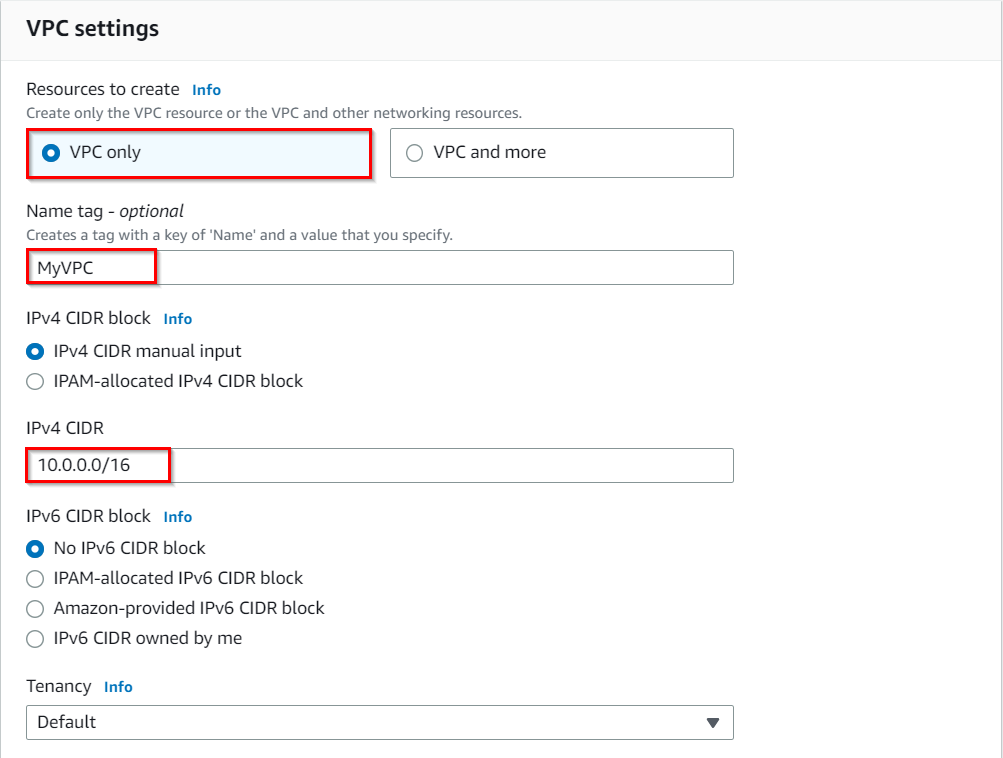
- Click on Create VPC button.
- Resources to create : Select VPC Only
- Name Tag : Enter MyVPC
- IPv4 CIDR block : Enter 10.0.0.0/16 (You can also put any other CIDR range)
- IPv6 CIDR block : Select No IPv6 CIDR Block
- Tenancy : Default
- Click on Create VPC.
- The VPC is now created.

- In this task, we are going to create both public and private subnets within the VPC. Public subnets have internet connectivity, while private subnets do not have direct internet access.
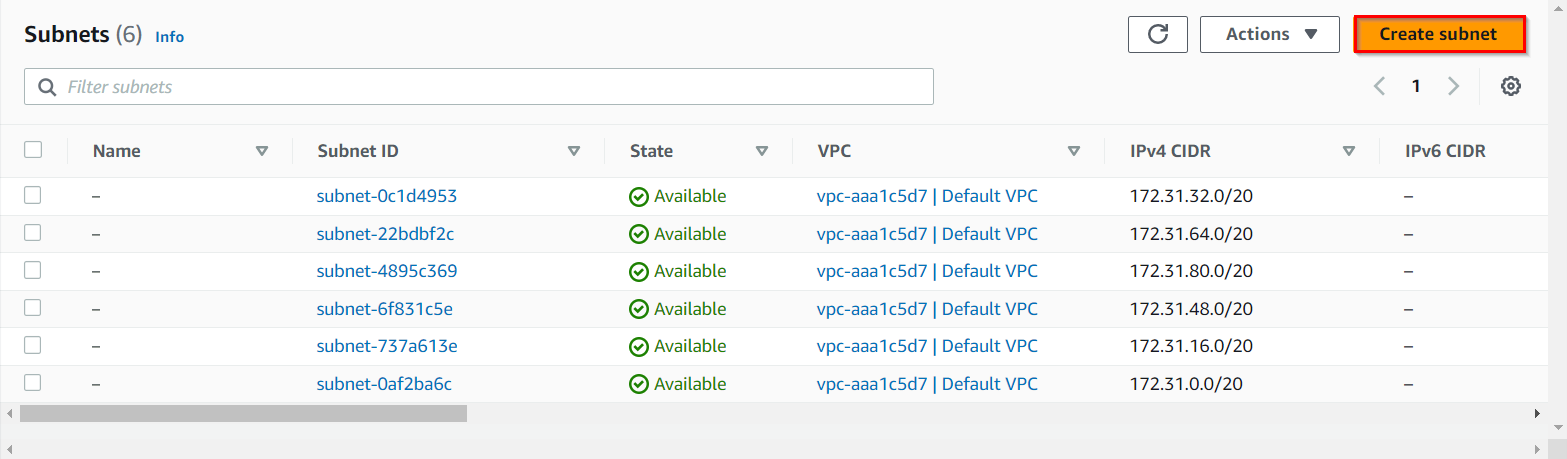
- Navigate to Subnets in the left panel of the VPC page.
- Let's create a Public subnet. Click on Create Subnet button.
- VPC ID : select MyVPC
- Subnet Name : Enter MyPublicSubnet
- Availability Zone : No Preference
- IPv4 CIDR block : Enter 10.0.0.0/24
- Click on Create subnet button.
- Let's enable Auto Assign public IP to Instances created within this subnet,
- Select MyPublicSubnet , Click on Actions.
- Click on Edit subnet settings.
- Enable auto-assign public IPv4 address : Check
- Click on Save.
- Now, the Instances launched inside the MyPublicSubnet will have Public IPs assigned to them by default.
- Let’s create a private subnet. Click on Create subnet.
- VPC ID : select MyVPC
- Subnet Name : Enter MyPrivateSubnet
- Availability Zone : No Preference
- IPv4 CIDR block : Enter 10.0.1.0/24
- Click on Create subnet button.
- Now, two subnets are created.
- In this task, we are going to create an Internet Gateway, which acts as a bridge between the VPC and the internet, allowing instances in the VPC to communicate with the internet.
- Navigate Internet Gateways in the left panel of the VPC page.
- Click on Create Internet gateway button.
- Name tag : Enter MyIGW
- Click on Create internet gateway button.
- An Internet Gateway is now created.
- To attach an Internet Gateway to a VPC,
- Click on Actions, Select Attach to VPC.
- VPC : Select MyVPC
- Click on Attach internet gateway.
- Now MyIGW is attached to MyVPC.


- In this task, we are going to create a public route table and configure it to associate with the public subnet. The public route table defines how traffic is routed between the VPC and the internet.
- Navigate to Route Table in the left panel of the VPC page.
- Click on Create route table button
- Name tag : Enter PublicRouteTable
- VPC : Select MyVPC
- Click on Create route table button.
- A route table by name PublicRouteTable will be created.
- To attach an Internet Gateway, select PublicRouteTable.
- In the Routes tab below:
- Click on Edit routes.
- On the next page, click on Add route
- Destination : Enter 0.0.0.0/0
- Target : Select Internet Gateway, and once the internet gateways have been created, select MyIGW
- Click on Save changes.
- To associate the Public Subnet to the route table, Select PublicRouteTable.
- Click on the Subnet Associations tab.
- Click on Edit subnet associations.
- On the next page, select MyPublicSubnet from the list displayed.
- Click on Save associations.
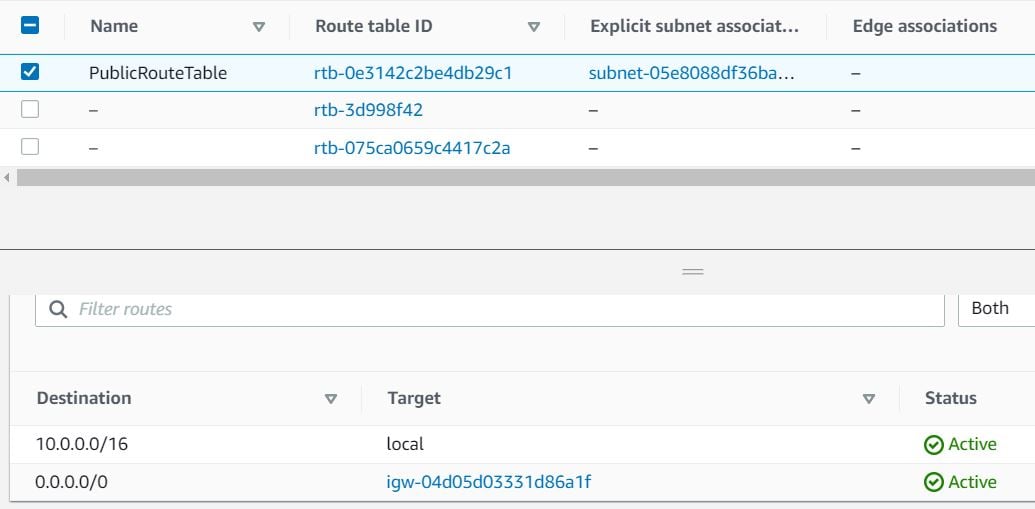
- Once all the configurations are completed, it should look like below:
- Now the Instances launched within MyPublicSubnet will have access to the Internet.
- As you can see, there is another existing route table already available for MyVPC. It is a main route table created at the time the VPC was created. We will use it while creating the NAT Gateway.
- In this task, we are going to launch an EC2 instance in the public subnet. This allows users to have a publicly accessible instance that can directly communicate with the internet.
- Make sure you are in the N.Virginia region.
- Navigate to the Services menu in the top, click on EC2 in the Compute section.
- Navigate to Instances on the left panel and click on Launch instances button
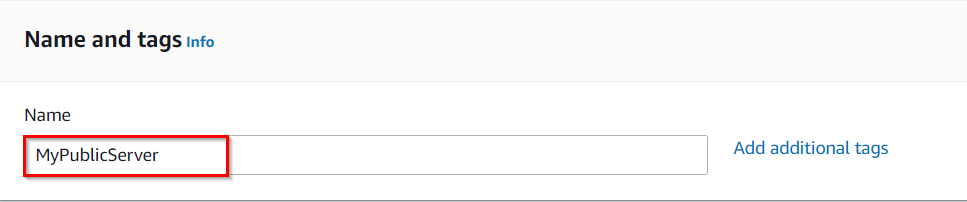
- Name : Enter MyPublicServer
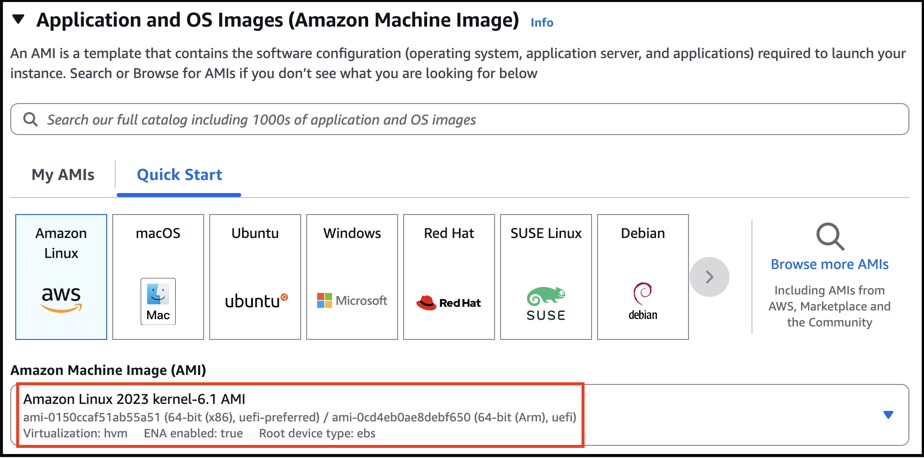
- For Amazon Machine Image (AMI): Search for Amazon Linux 2023 AMI in the search box and click on the select button.
- For Instance Type: select t2.micro
- For Key pair: Select Create a new key pair Button
- Key pair name: MyKey
- Key pair type: RSA
- Private key file format: .pem
- Select Create key pair Button.
- In Network Settings Click on Edit:
- VPC : Select MyVPC
- Subnet : Select MyPublicSubnet
- Auto-assign public IP: Enable
- Select Create new Security group
- Security group name : Enter MyEC2Server_SG
- Description : Enter Security Group to allow traffic to EC2
- To add SSH
- Choose Type:
- Select SSH
- Source: Select Anywhere
- Keep Rest thing Default and Click on Launch Instance Button.
- Select View all Instances to View Instance you Created
- Launch Status: Your instance is now launching, Select the instance and wait for it to change status to Running.


- In this task, we are going to launch an EC2 instance in the private subnet. This demonstrates the concept of a private subnet, which does not have direct internet access.
- Click on Launch instances.
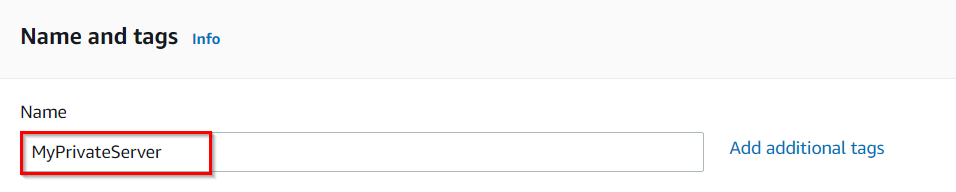
- Name : Enter MyPrivateServer
- For Amazon Machine Image (AMI): Search for Amazon Linux 2023 AMI in the search box and click on the select button.
- For Instance Type: select t2.micro
- For Key pair: Select the key pair you created before
- In Network Settings Click on Edit:
- VPC : Select MyVPC
- Subnet : Select MyPrivateSubnet
- Auto-assign public IP: Disable
- Select Select existing security group
- Select MyEC2Server_SG
- Keep Rest thing Default and Click on Launch Instance Button.
- Select View all Instances to View Instance you Created
- Launch Status: Your instance is now launching, Select the instance and wait for it to change status to Running.
- Note the Private IP Address of MyPrivateServer : Example 10.0.1.45
- In this task, we are going to establish SSH connections to both the public and private EC2 instances. By testing internet connectivity from both instances, users can verify if the public instance has internet access and the private instance does not.
- SSH into MyPublicServer Instance. Follow the below steps
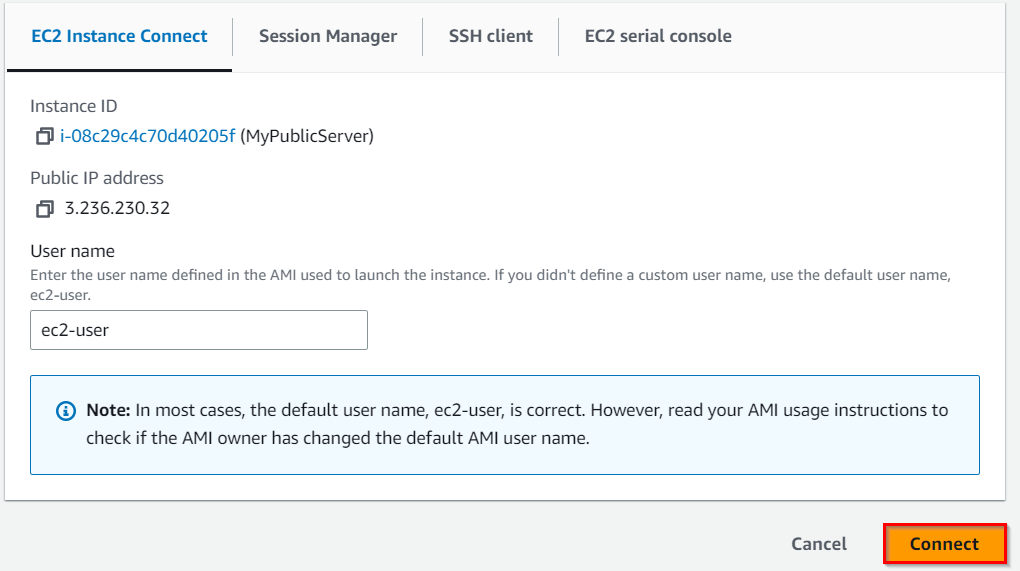
- Once the instance is created. Select the instance MyPublicServer.Click on connect button
- Now select the EC2 instance connect option. You can see there are four options for connecting to EC2. You can use any of the given options to get in the console but for our lab, we are using EC2 instance connect.
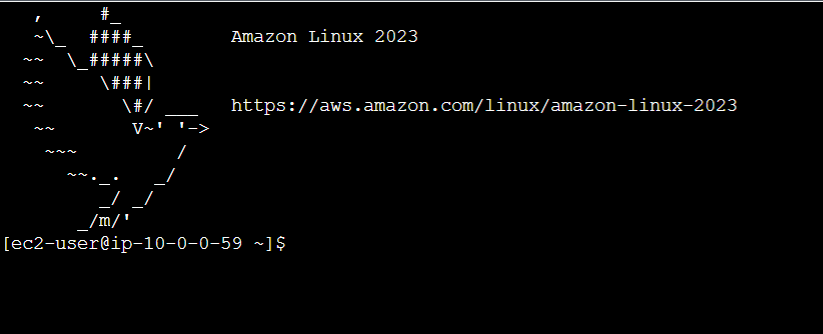
- A new tab would be opened in your browser where we can see the console.
- Switch to root user:
- sudo su
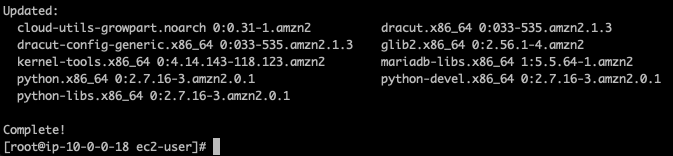
- Run the updates using the following command:
- yum -y update
- Since the Internet Gateway MyIGW is connected to MyPublicSubnet, updates will be completed successfully.
- Let’s SSH into MyPrivateEC2Server from MyPublicEC2Server.
- In order to SSH into MyPrivateEC2Server, first, we need to create the PEM file in the public EC2 ie, MyPublicEC2Server, and copy the data from our MyKey.pem in the local machine.
- We need MyKey.pem in order to SSH. We shall copy key details from the MyKey.pem from your local machine (which was downloaded earlier while launching EC2 instances).
- To copy the contents of the MyKey.pem, open the file in a text editor and copy the whole content.
- To create the MyKey.pem in MyPublicEC2Server, run
- vi MyKey.pem
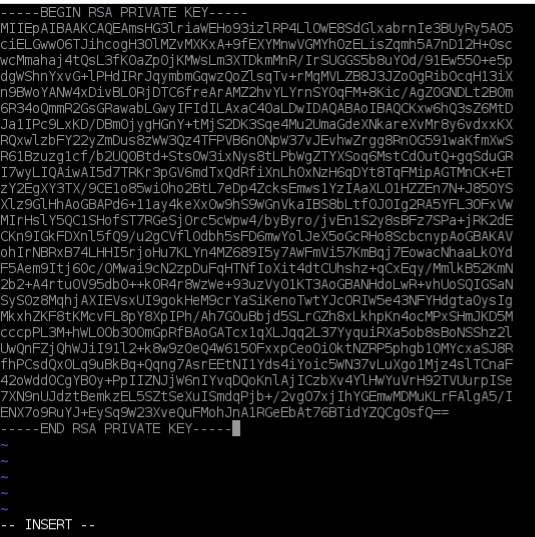
- Now press the following for inserting the data(You can see insert popped at the last then you can paste the key).
- Click i
- Note: In the editor, copy and paste the key that looks similar to the example below:
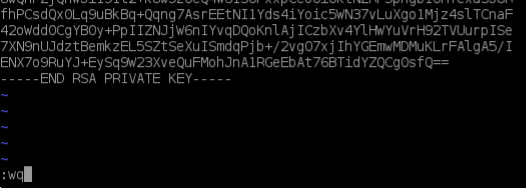
- Save the File
- click esc
- :wq
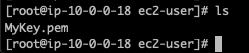
- Check that the file was created correctly.
- ls
- Update Permissions for the MyKey.pem
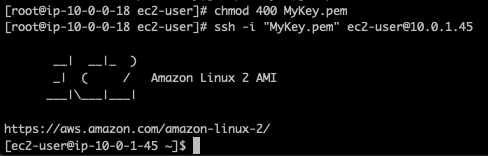
- chmod 400 MyKey.pem
- Use the Private IP address of MyPrivateEC2Server to SSH.
- ssh ec2-user@<Private IP of MyPrivateEC2Server> -i MyKey.pem
- Note: Incase if this message shows Are you sure you want to continue connecting (yes/no)? : Enter yes
- Switch to root user
- sudo su
- Run the updates using the following command:
- yum -y update
- Since no internet access is provided for EC2 instances in a private subnet, you will not be able to get updates.

- In this task, we are going to create a NAT Gateway, which provides internet access to instances in the private subnet. The NAT Gateway acts as a middleman to forward traffic between the private subnet and the internet.
- Navigate to the VPC Page.
- Make sure you are still in the N.Virginia Region.
- In the Left Panel, click on NAT Gateways.
- Click on Create NAT gateway button.
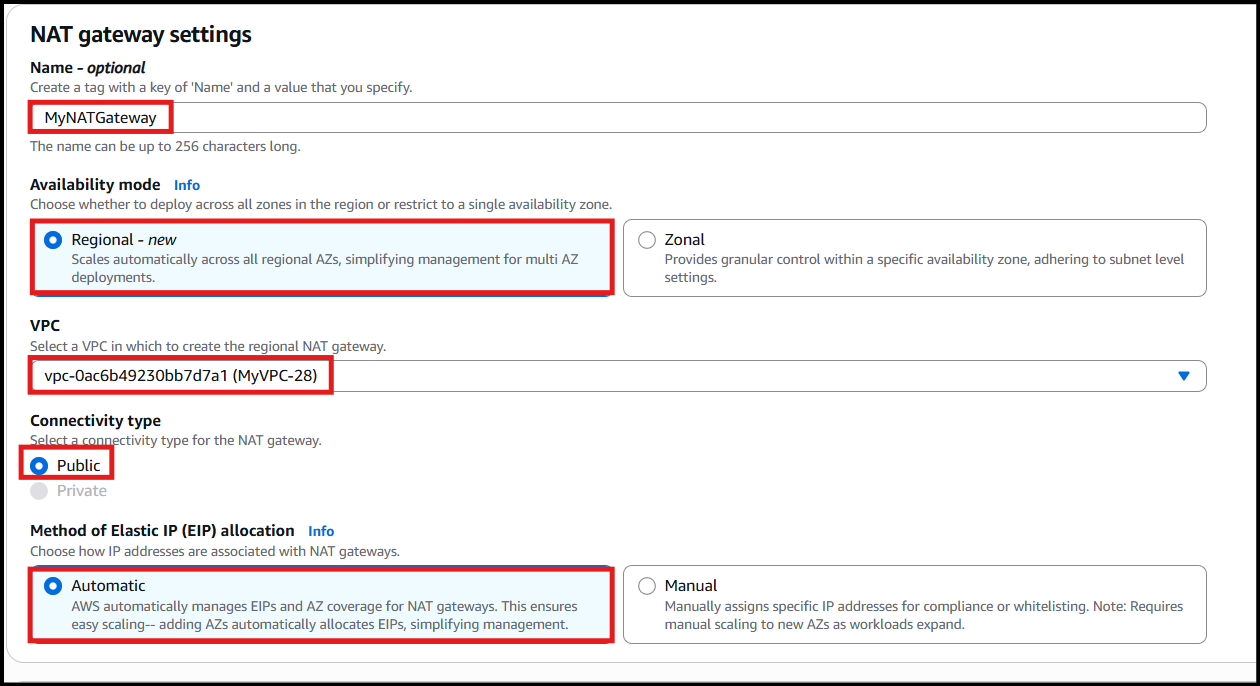
- Name : Enter MyNATGateway
- VPC: Choose MyVPC
- Connectivity type: Public and Method of Elastic IP: Automatic.
- Once the new Elastic IP is allocated, click on Create NAT gateway.
- Note that NAT Gateway is always created in a public subnet.
- NAT Gateway will be created in a few minutes. Once created, the status will change to available.


- In this task, we are going to update the route table associated with the private subnet to include the NAT Gateway as the target for internet-bound traffic. This ensures that traffic from the private subnet is directed through the NAT Gateway for internet access.
- Navigate to Route Tables in the left panel.
- You can see two Route Tables available for MyVPC
- To attach Nat Gateway, select the Main Route Table (which is different from the one created by you).
- In the Routes tab below,
- Click on Edit routes.
- In the next page, Click on Add route
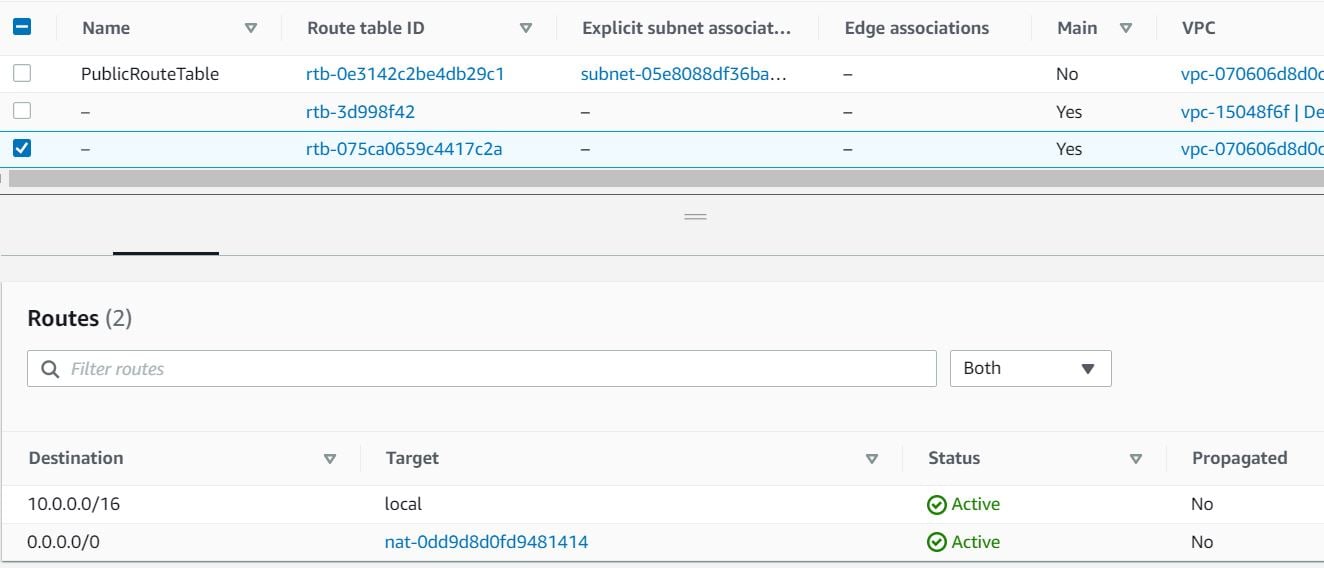
- Destination: Enter 0.0.0.0/0
- Target: Select NAT Gateway, and once the internet gateways have loaded, select the NAT Gateway you created.
- Click on Save changes.
- Once all the configurations are completed, it should look like below.
- Now the Instances launched within MyPrivateSubnet can access the Internet through the NAT Gateway.

- In this task, we are going to validate that the instance in the private subnet can successfully establish an internet connection by accessing the internet through the NAT Gateway.
- SSH back into MyPublicEC2Server .
- Switch to root user
- sudo su
- SSH into MyPrivateEC2Server
- ssh ec2-user@<Private IP of MyPrivateEC2Server> -i MyKey.pem
- Switch to root user
- sudo su
- Run the updates using the following command:
- yum -y update
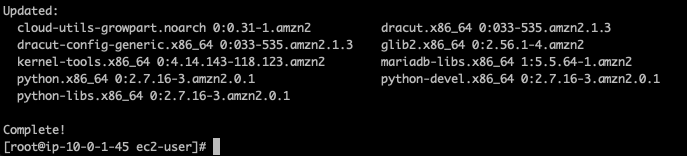
- You can see that the updates have been completed successfully in the terminal.
- This shows that MyPrivateEC2Server has internet access.
- Use exit command to close the private server connection.
- Do You Know?
- NAT Gateway allows for high scalability and can handle thousands to tens of thousands of concurrent connections per second. It is designed to handle significant traffic loads and provides automatic scaling based on the demand. This means that as your network traffic increases, AWS automatically scales up the NAT Gateway capacity to accommodate the higher workload. This scalability feature ensures that your instances in the private subnet can maintain reliable and efficient internet connectivity, even during periods of high demand or traffic spikes.
- Once the lab steps are completed, please click on the Validation button on the left side panel.
- This will validate the resources in the AWS account and shows you whether you have completed this lab successfully or not.
- Sample output :
- Completion and Conclusion
- You have successfully created a new VPC from scratch and created both public and private subnets.
- You have created an Internet Gateway and configured a new route table.
- You have launched 1 EC2 instance each of the Public and Private subnets and tested Internet access from them.
- To provide Internet access to the EC2 instance in the Private subnet, you created a NAT Gateway and configured a Route table.
- You confirmed that the instance in the private subnet is able to connect to the internet.
- End Lab
- Sign out of AWS Account.
- You have successfully completed the lab.
- Once you have completed the steps, click on End Lab from the lab console.